Here is what you will need
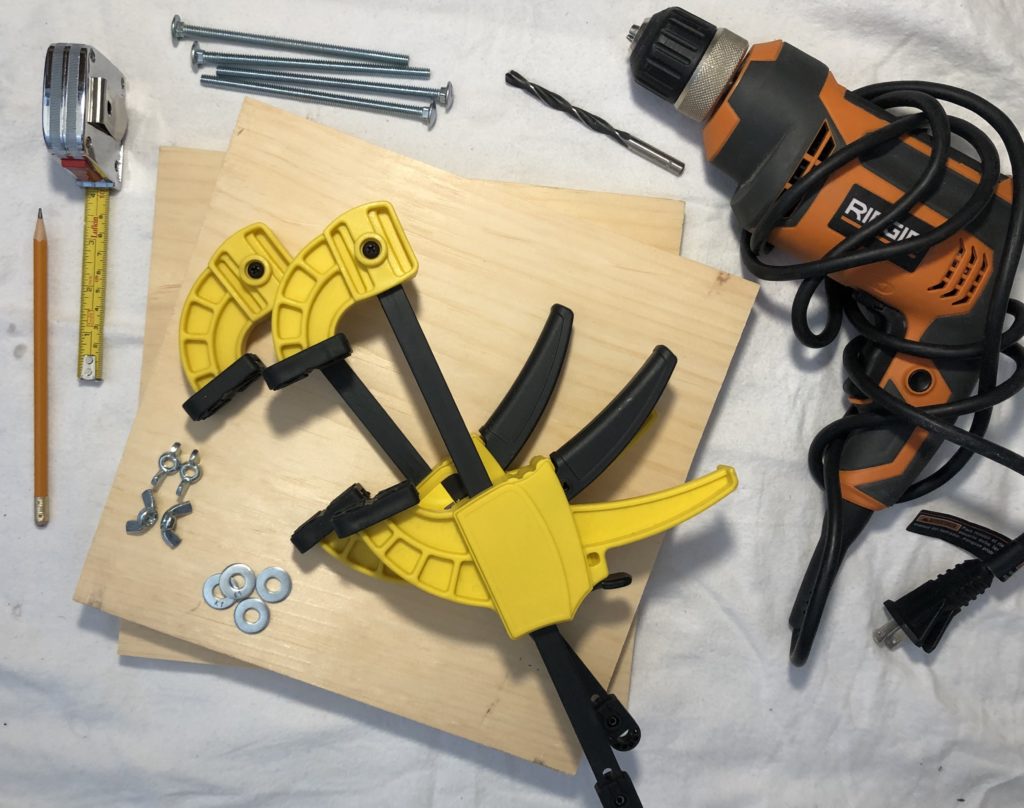
- Two pieces of wood that are the same size (I use 9×9 inch pine board)
- A drill and drill bit that is one size larger than your lug screws
- Four lug screws (I use 1/4 inch diameter)
- Eight washers (Thin plate with hole)
- Four wing nuts
- A pencil and measuring tape
- Clamps or saw horse to hold your wood in place
- Cardboard, a utility knife and paper
Here are the steps
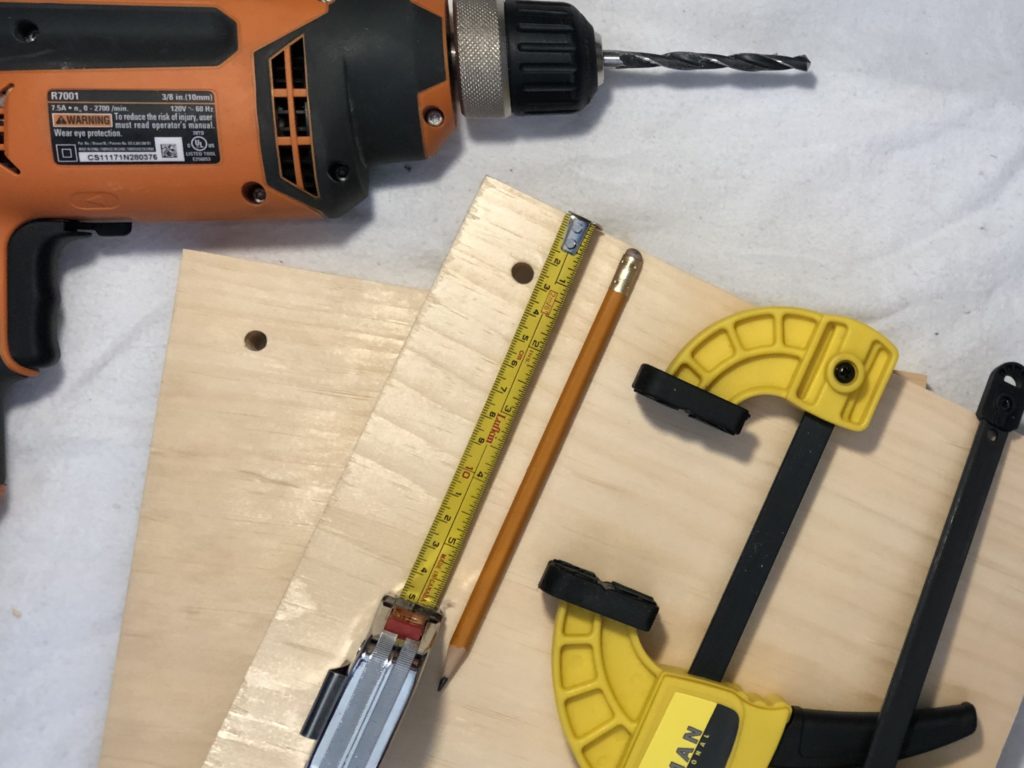
- Grab one piece of wood, your pencil and measuring tape. From each corner of the wood measure and mark 1 inch away diagonally on a 45 degree angle (there should be 4 pencil marks)
- Clamp both pieces of wood together (ensure wood grooves are travelling in the same direction)
- Drill a hole through the pencil markings penetrating both pieces of wood.
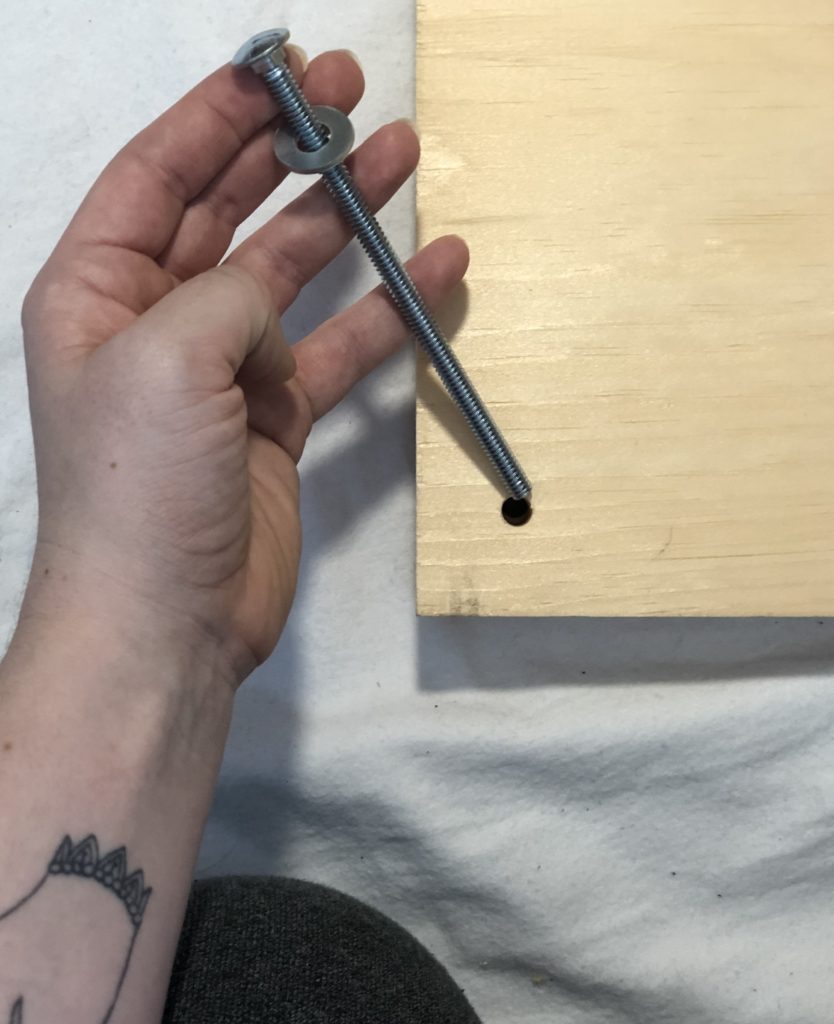
- Grab your lug screws and four washers
- Slide one washer to the base of each lug screw
- While your wood is still clamped together, the lug screws into the holes
- Remove clamps and carefully flip your boards upside down so the base of your lug screw and washer are sitting on the surface you are using
- Get your cardboard, paper, utility knife, pencil and measuring tape.
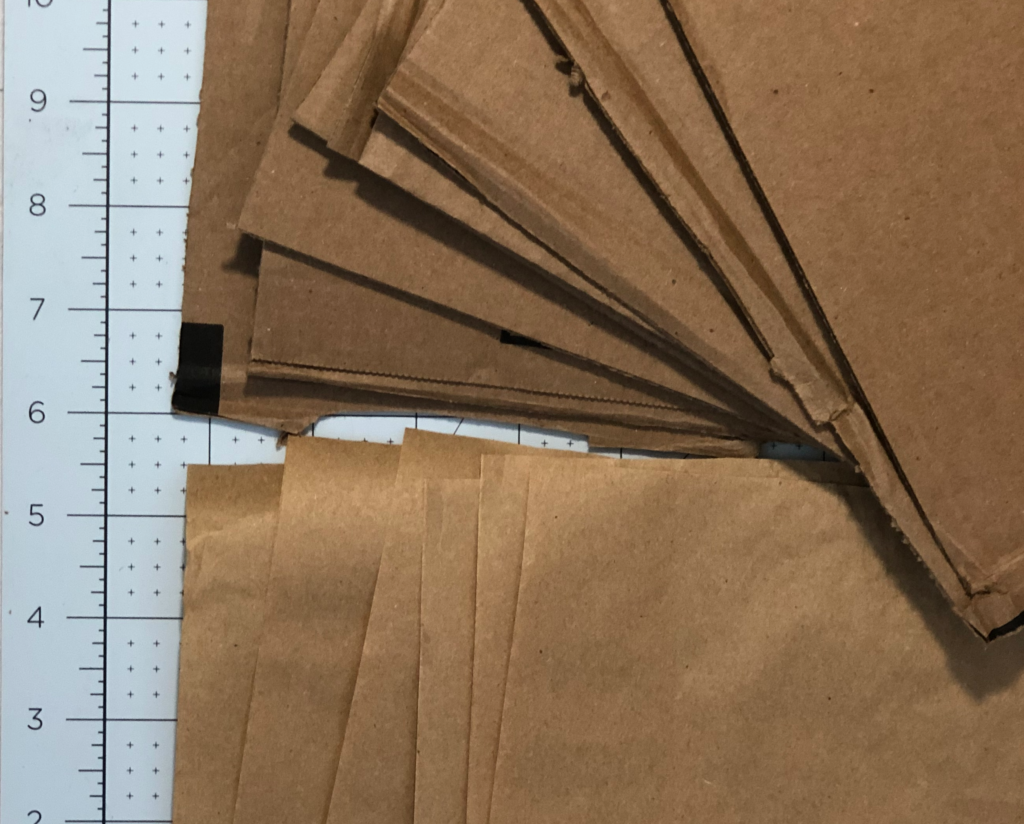
- Cut the cardboard to a size that fits between your lug screws. With 9×9 inch pine board my lug screws measure approximately 8×8 therefore my cardboard should be slightly smaller than that. Cut as many cardboard squares as you want layers in your press
- Cut your paper to be the same size as your cardboard. There should be two pieces of paper between each piece of cardboard. The pattern should be 1 cardboard, 2 paper, 1 cardboard, 2 paper etc. you should end with cardboard on top. Your flowers would be inserted between the sheets of paper.
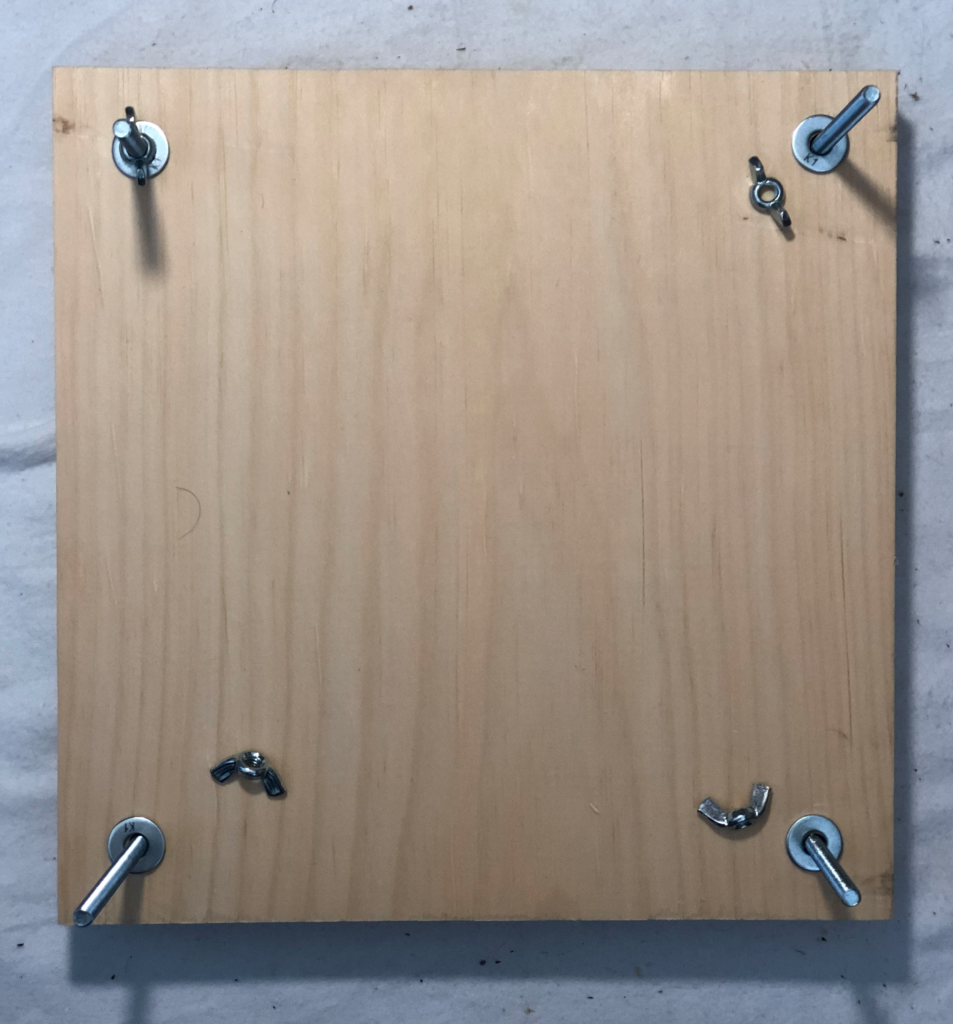
- Slide your second piece of wood down on the lug screws so it is sitting on top of the last piece of cardboard
- Slide the remaining washers on the lug screws (1 per lug)
- Secure and close your press with your wing nuts. One nut per lug screw.

